Creating Curls That Last
We all love those soft, bouncy curls that look professionally done, but how do you recreate them at home so they actually last all day (or night)? At Look, we believe lasting curls come down to prep, the right products, and the right tools. Here’s your go-to guide using our Aveda favorites and trusted styling tools.
What You’ll Need
Aveda Products
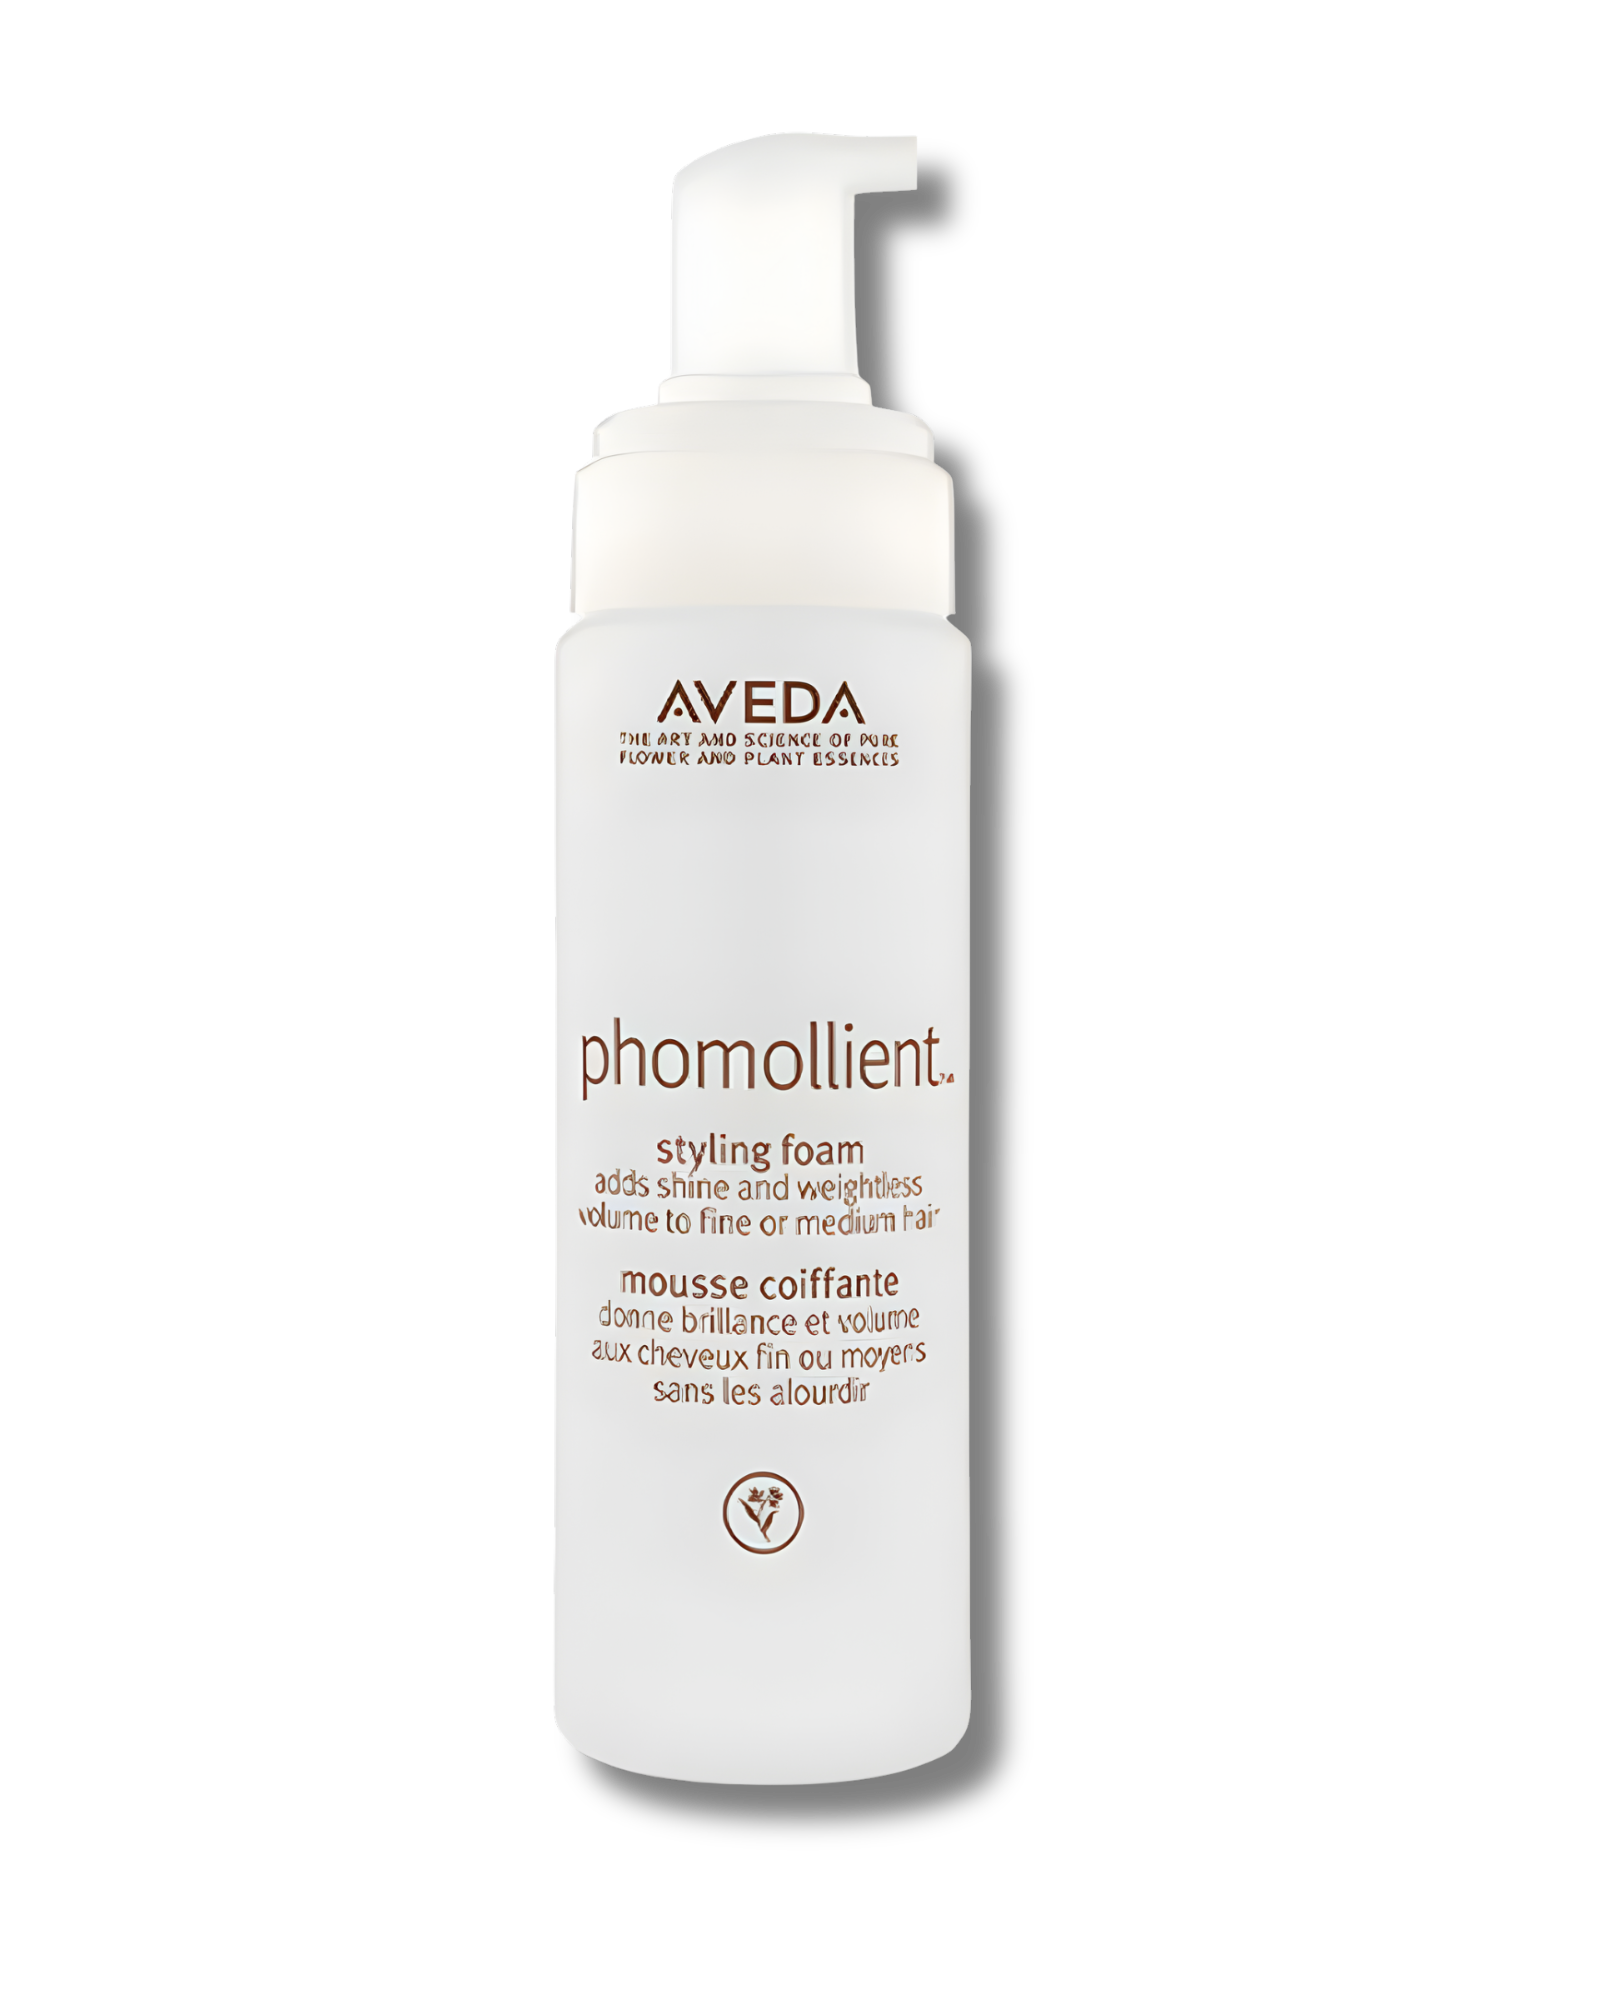
• Aveda Phomollient Styling Foam – Adds weightless body and long-lasting hold
• Aveda Confixor Liquid Gel – Defines and enhances curl and great for texture
• Aveda Brilliant Universal Styling Creme – Smooths and conditions curls
• Aveda Air Control Hair Spray – Light, Flexible, long-lasting hold without crunch
Tools & Accessories
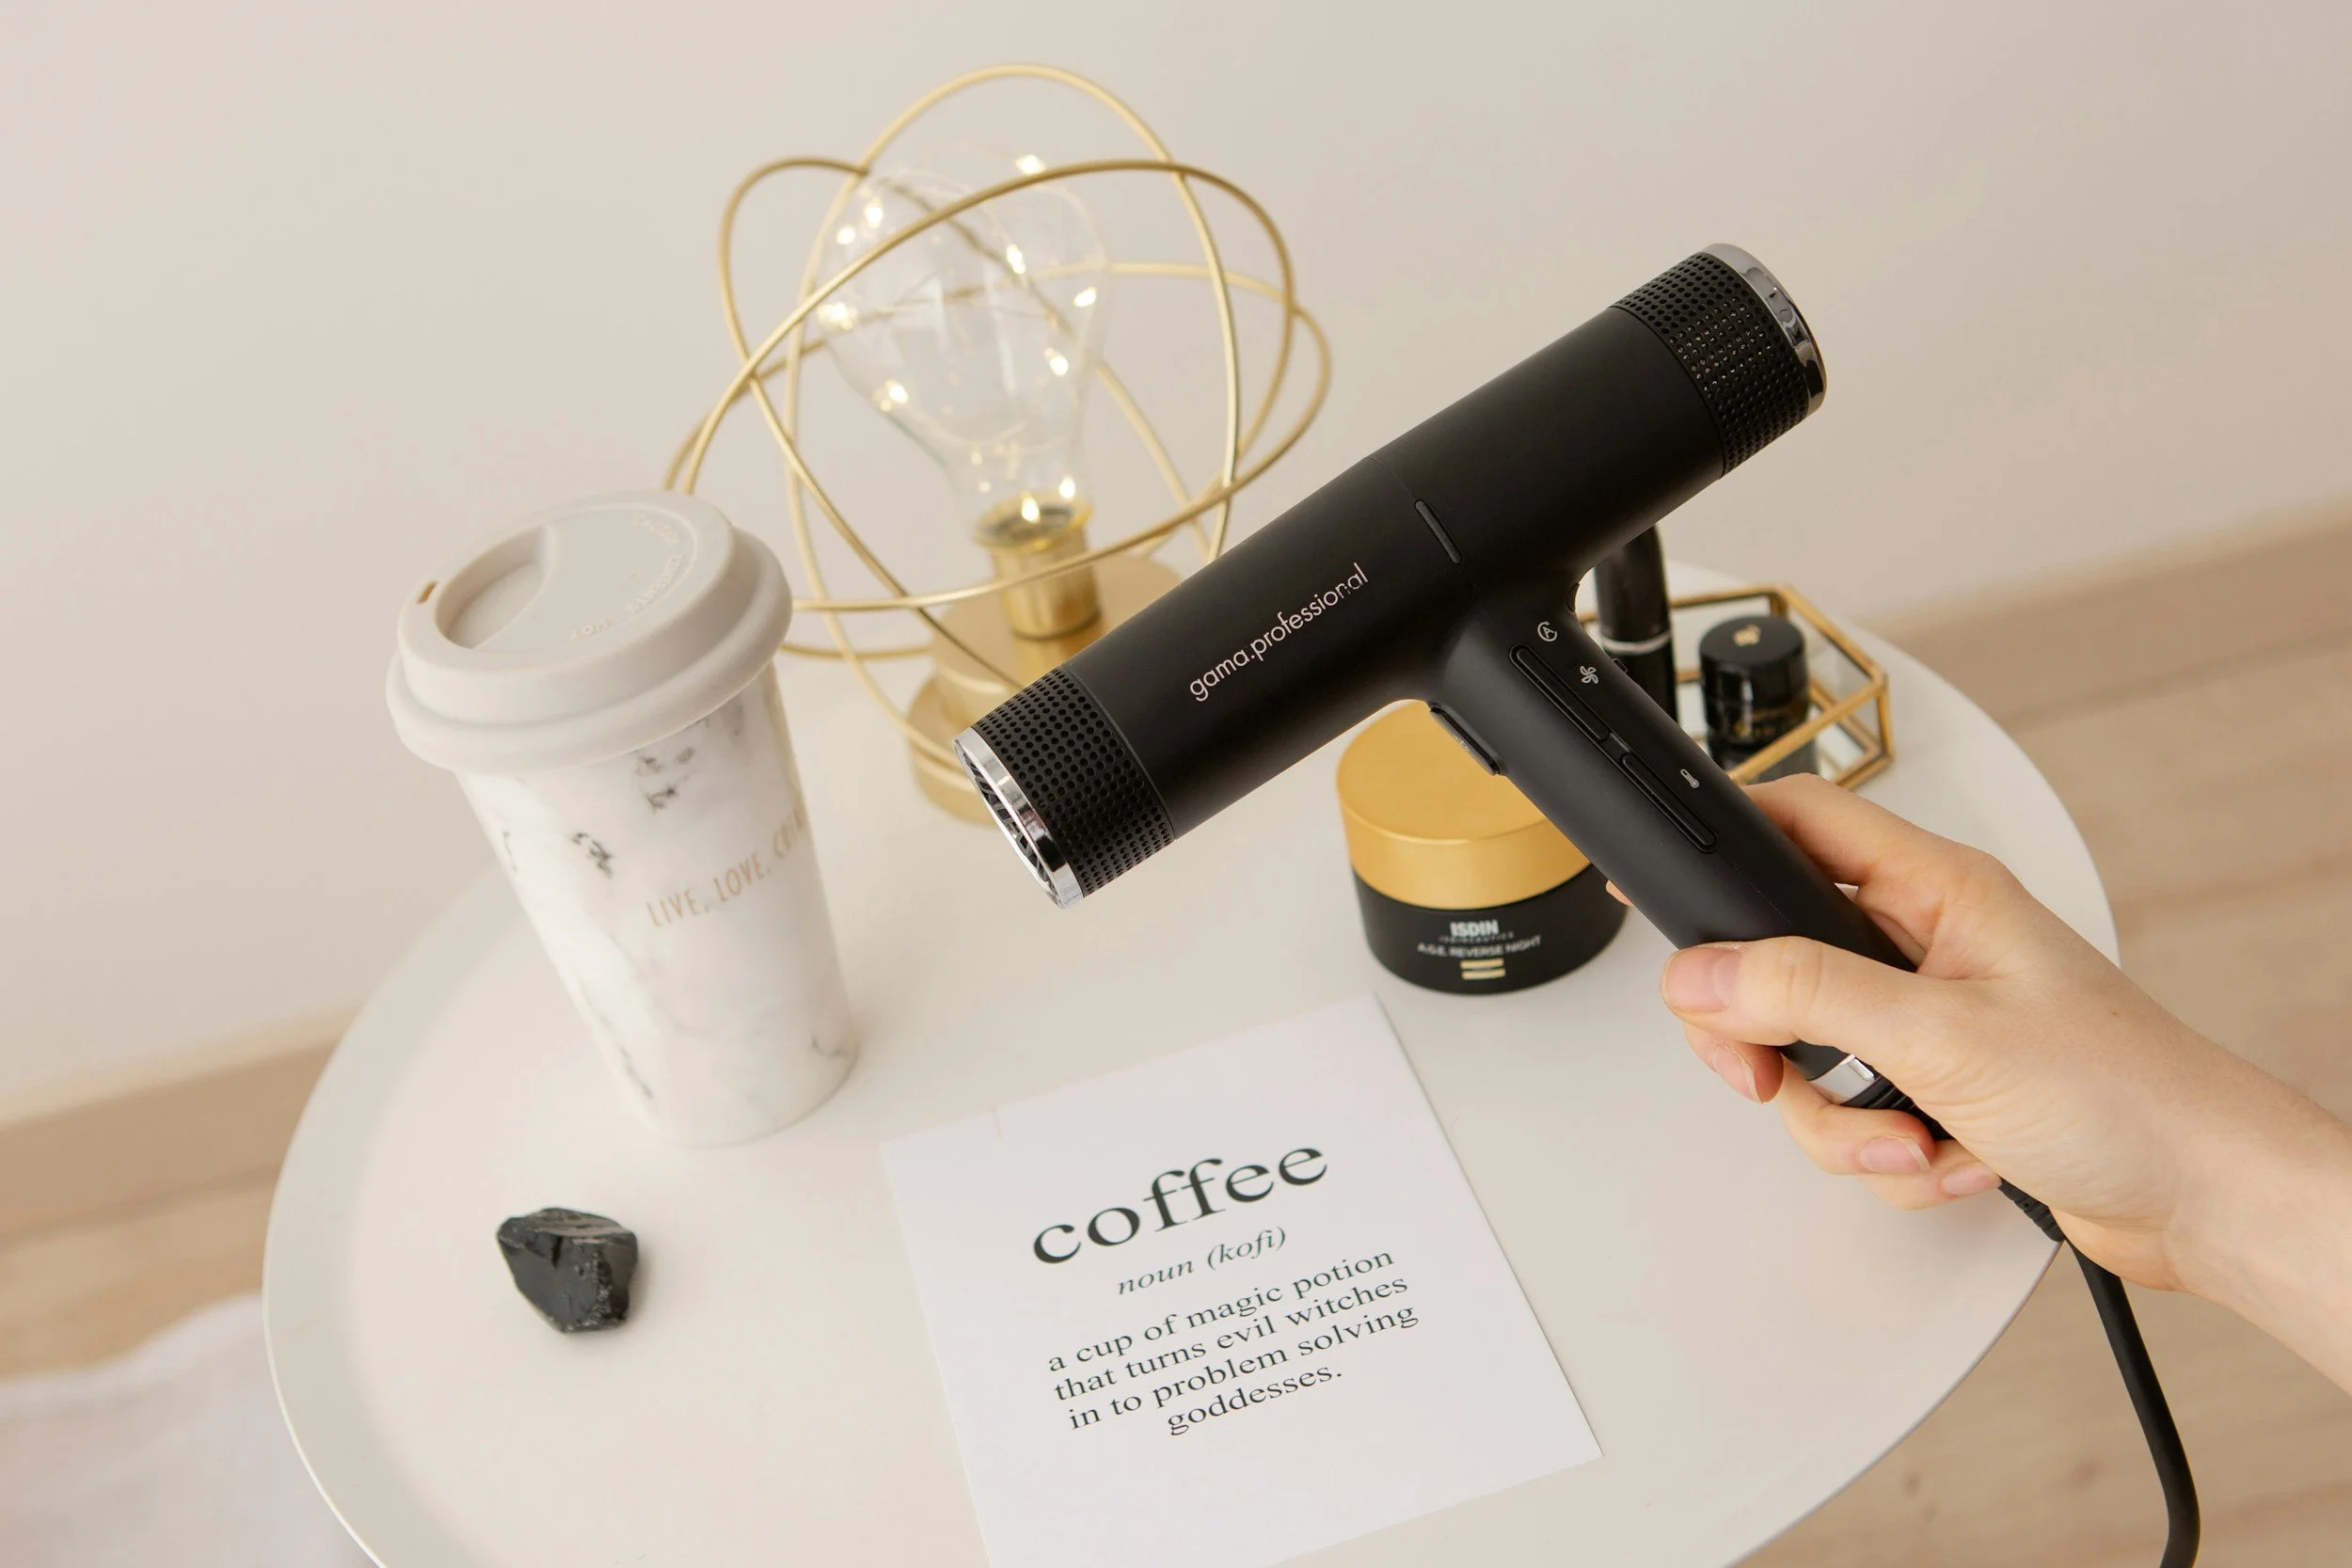
• Blow Dryer with Diffuser Attachment (we recommend Dyson Supersonic or Ga.ma Iq Perfetto Dryer)
• 1” or 1.25” Curling Iron / Wand (Hot Tools or T3 are our favorites)
• Styling Boar Bristle Brush or Round Brush
• Clips / Sectioning Clips (like Kitsch Clips)
• Microfiber Towel or Aveda Turban Towel
• Flexible Curl Pins or Clips (to pin curls while cooling)
Step-by-Step: Create Curls That Last
1. Start With the Right Prep
Healthy curls start with clean, styled hair prepped correctly:
1. Wash + Condition: Use your favorite Aveda shampoo and conditioner.
2. Towel-Dry Gently: Switch to a microfiber towel or Aveda turban, this reduces frizz.
3. Work in Aveda Phomollient Styling Foam: Apply a golf-ball amount through roots to ends for long-lasting texture. Product amount will increase depending on the length and density of your hair)
**Why Phomollient? It gives body without weighing down waves and creates a strong base for curls to hold.
2. Protect + Define
Before adding heat or shaping curls:
• Apply a small amount of Aveda Confixor® Liquid Gel to damp hair — finger-comb or use a wide-tooth comb to distribute evenly.
• This product works like a curl magnet — it enhances, defines, and helps the curl pattern hold.
3. Dry With a Blowdryer and Concentrator
Using your blowdryer:
1. Flip hair forward or to the side.
2. Gently dry on medium heat/low speed, pulling your hair smooth with your fingers.
3. Focus on drying ~80% of the hair before round brushing.
💡 This step gives natural lift and texture — important for curls that stay!
4. Section + Curl
Divide hair into manageable sections:
1. Clip the top half up with sectioning clips.
2. Work in 1-inch sections with your curling iron or wand. Rotate the barrel and wrap hair away from your face for a natural, seamless look.
3. Hold ~8–12 seconds depending on hair thickness.
4. Release into your palm — let the curl drop before letting it fall.
Tools we love:
• Hot Tools Professional 24K Gold Curling Iron/Wand – even heat for consistent curl
• T3 SinglePass Curl – great for smooth, long-lasting spiral curls
5. Pin Curls While They Cool
To make curls last longer:
Immediately pin each curl against the head with a flexible clip or pin.
This helps the curl set in place as it cools; a pro trick that lasts.
6. Break + Finish
Once all curls are completely cool:
1. Remove pins.
2. Gently separate curls with fingers — no brushes!
3. Smooth a tiny amount of Aveda Brilliant™ Universal Styling Creme onto ends to tame frizz and add shine.
4. Lock your style with Aveda Air Control™ Hair Spray — soft, touchable hold that doesn’t get crunchy.
Pro Tips for Long-Lasting Curls
Don’t skip heat protectant: Always use a styling product before heat. (Most Aveda products have a heat protection built in)
Use clips to hold curls as they cool: This dramatically increases longevity.
Choose the right barrel size: 1″ for tighter curls, 1.25″ for looser waves.
Let products dry completely: Styling on damp hair weakens curl memory.
Final Thoughts
With the right Aveda products, professional tools, and a few salon-insider techniques, you can achieve gorgeous, long-lasting curls without leaving your home. Whether it’s a night out or an everyday look, this routine delivers professional-level results every time.