Tips & Tricks
A Shortcut on How to Get the Perfect Blowout Using the Viral Round-Brush & Flat-Iron Technique
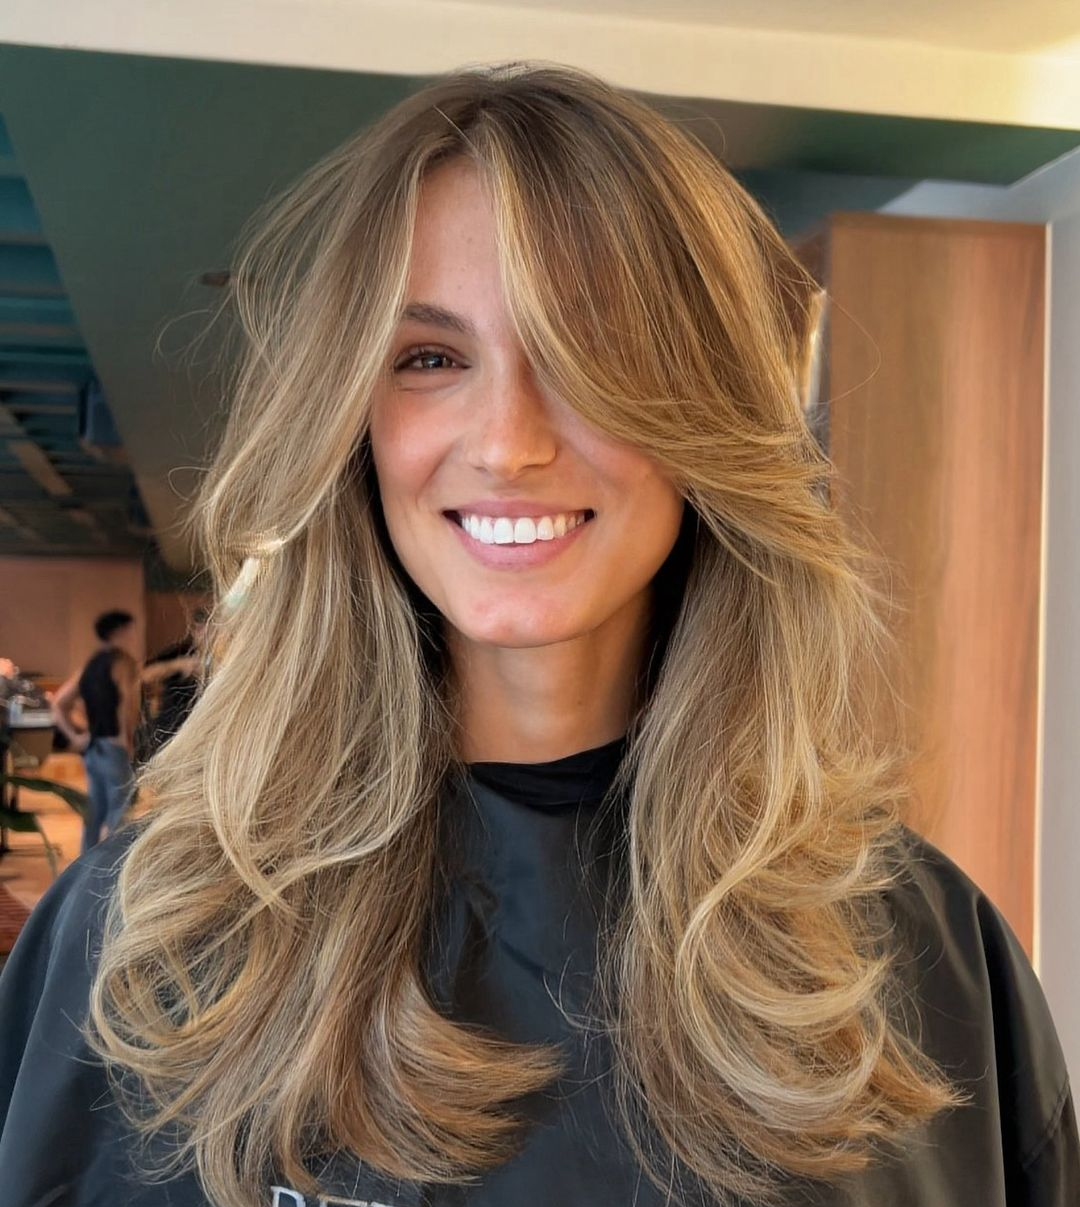
If you’ve ever wondered how influencers achieve that effortless, bouncy, salon-quality blowout at home, the answer may be simpler than you think. A new trending technique on Instagram - combining a round brush with a flat iron—has officially become one of our favorite ways to create smooth, voluminous hair with long-lasting polish. And as one of the go-to salons for blowouts in San Antonio, we’ve perfected this method inside LOOK so our clients can enjoy shiny, lifted, frizz-free hair that actually lasts in Texas humidity.
Whether you’re looking to maintain your professional blowout between appointments or you just want to elevate your everyday routine, this guide breaks down how to recreate the look at home.
Why This Technique Works
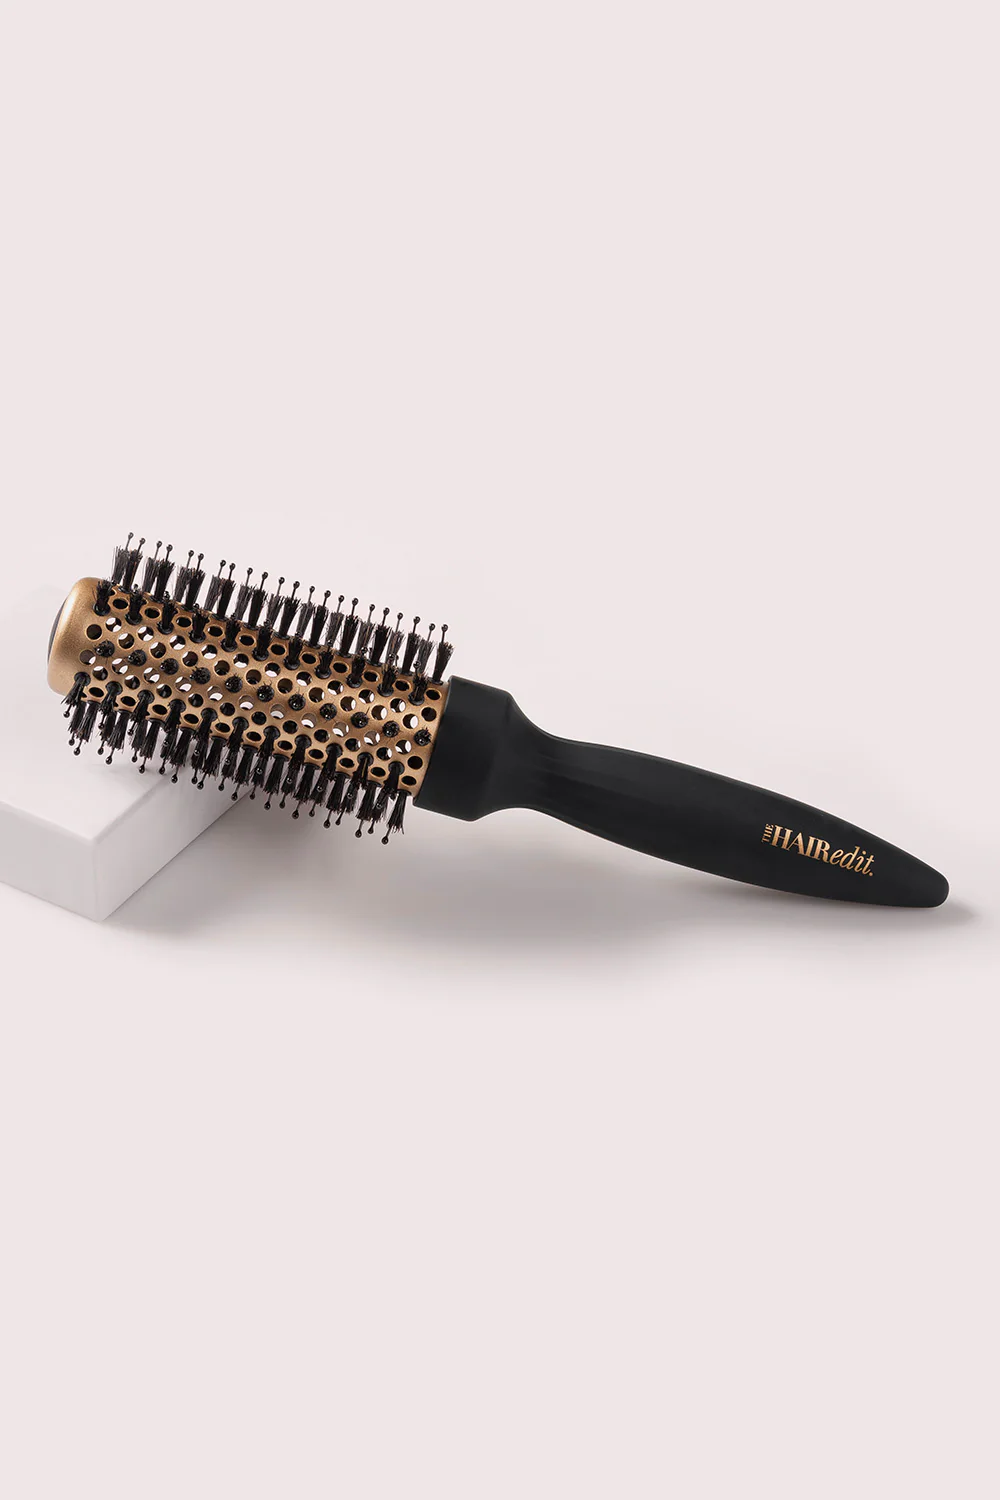
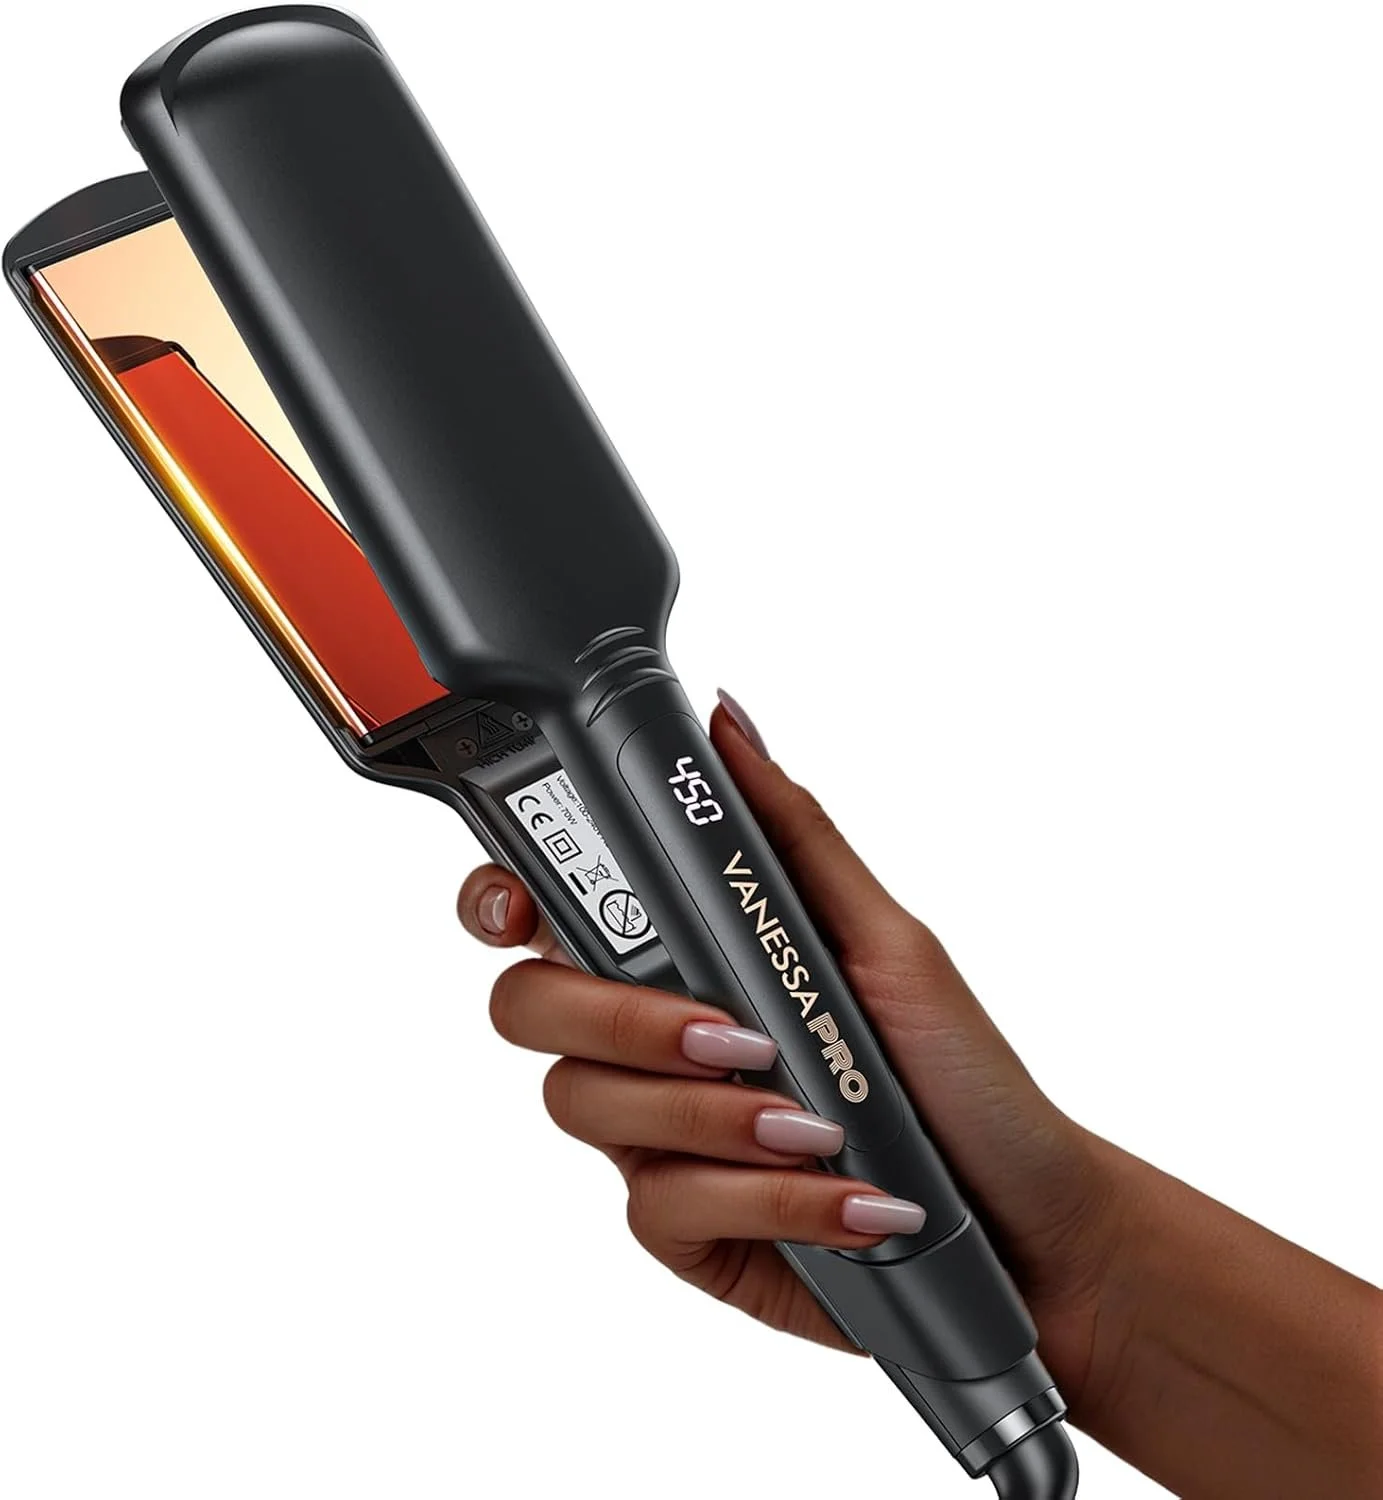
The combination of a ceramic round brush and a flat iron merges the best of two tools:
• The round brush adds volume and shape
• The flat iron seals shine and smoothness
• Heat is more controlled, which helps reduce frizz
• Lift at the root lasts longer, especially in humid climates like San Antonio
This method delivers the kind of glossy, bouncy finish clients usually only get from a salon blowout—which is why it’s become one of our most requested styling techniques at Look.

Step-by-Step Guide to the Perfect Blowout
1. Prep Your Hair Like a Professional
Start with clean, well-conditioned hair. Use a lightweight heat-protectant and a volumizing spray or mousse to help the style last.
Pro tip: At Look, we often layer a humidity-resistant product at the root to keep volume lifted all day.
2. Section Your Hair for Maximum Control
Divide your hair into manageable horizontal sections. The cleaner the sections, the smoother your final result.
3. Glide the Flat Iron Over the Hair
Here’s the Instagram-famous part:
While the hair is hot, using a round brush, comb the hair through to the ends and roll the hair back up.
This technique:
• Sets the curl pattern
• Polishes the cuticle
• Creates a long-lasting bend
• Gives you that signature blowout bounce
4. Allow the brush to cool for 10-20 seconds
The longer the brush cools allows the shape to be more defined.
5. Lock in Your Shape
Twirl each section lightly as you release it from the brush. Allow the hair to cool in place before touching or brushing through.
6. Finish With Shine & Humidity Protection
Seal your blowout with a flexible-hold hairspray or texture spray.
Since San Antonio humidity is no joke, always choose a product designed for moisture resistance.
Why Clients Love This Technique at LOOK
Our stylists have refined this method to suit every hair type - fine, thick, curly, textured, or straight. Clients consistently rave about:
• More volume with less heat
• A smoother finish that still looks natural
• Better hold throughout the day
• Less frizz (even outdoors!)
• Instagram-worthy movement and shine
If you’ve been trying to perfect your at-home blowout or want a style that lasts for days, this technique is your new best friend.
Ready for a Professional Blowout in San Antonio?
While this tutorial is perfect for at-home styling, nothing compares to a professional blowout at LOOK. Our team customizes the technique to your hair type, lifestyle, and desired finish — whether you want sleek and polished, big and bouncy, or soft and lived-in.